
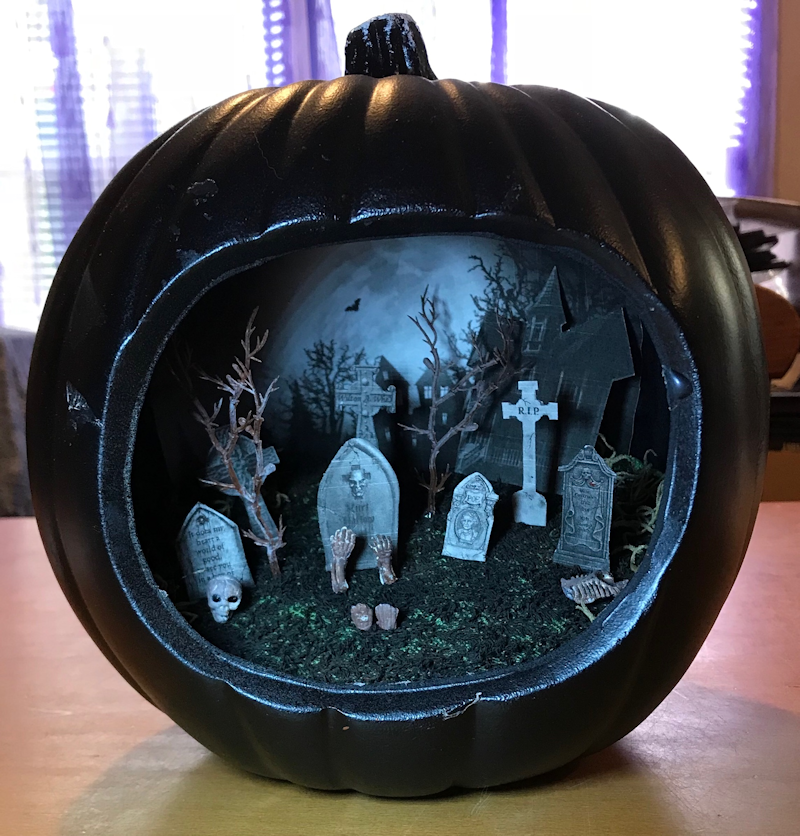
I had fun making this diorama. I’ll explain how I did it.
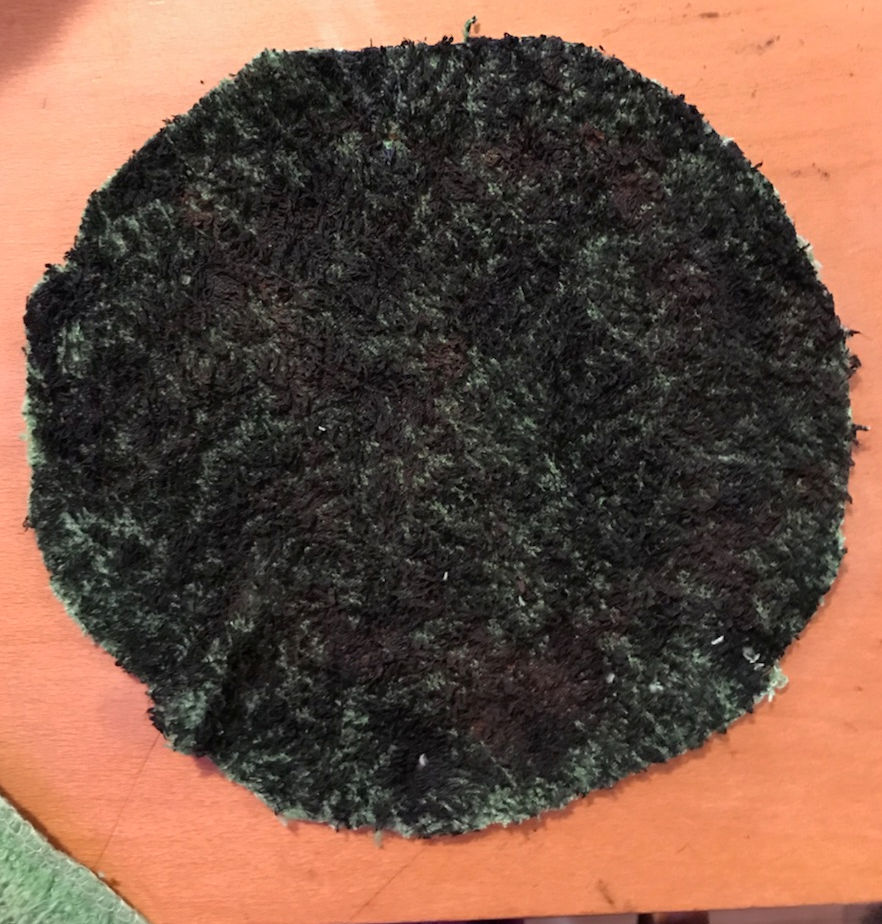
I started this project by making grass. I purchased a cheap green washcloth and painted it black. Then I added a dark green on top of the black. Of course, I got paint all over me and the table. You can see the color of the washcloth I started with in the lower left of the picture.

The inside of the pumpkin had ridges up and down, so I had to find a background to put in it. I spent several hours searching on the internet. I used many search terms and could not find anything I wanted. Finally, I searched for ‘spooky trees’ and found this background. I had to glue it in and let it dry overnight.
I also had to find headstones to print out. I found way more than I needed and printed all of them just in case. I also printed some vultures, which I decided not to use. Then I had to cut them all out.
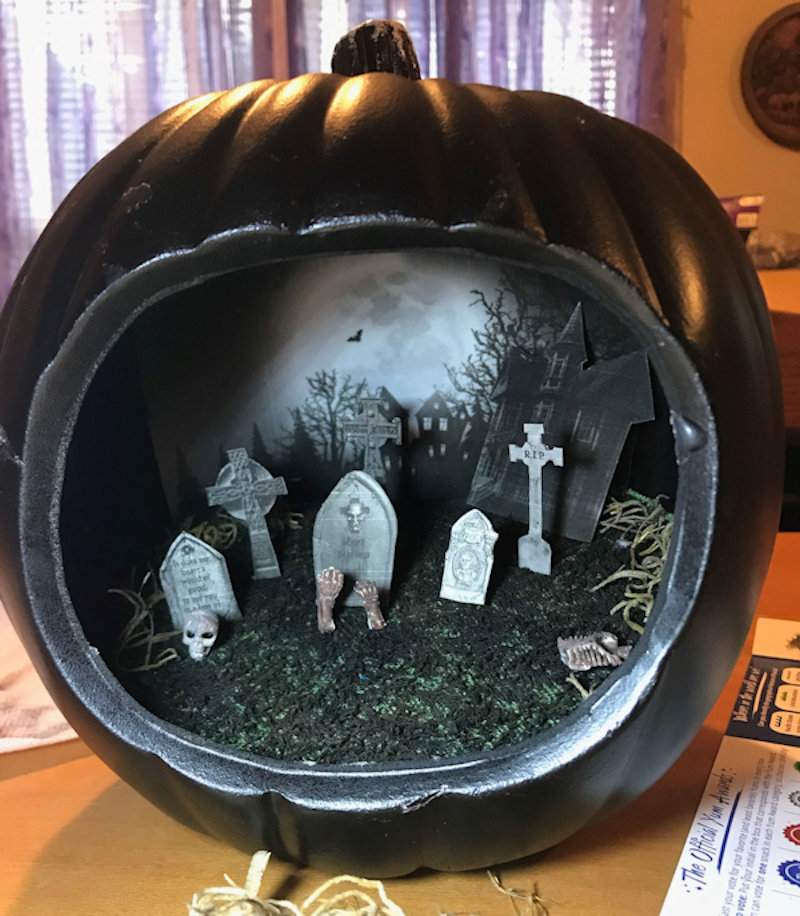
I glued the headstones onto straight pins so I could anchor them into the ground. While that was drying, I made little bushes from moss to go around the edge where the washrag was not laying down well. Once I put the headstones in place, I cut up a skeleton and painted it to make it look like it was decaying. I put the head by one headstone and the chest under a bush. I then put pins through the hands so I could anchor them in place. It seemed very incomplete, so I had to think about it a while to figure out what to do about the vacant space in front.
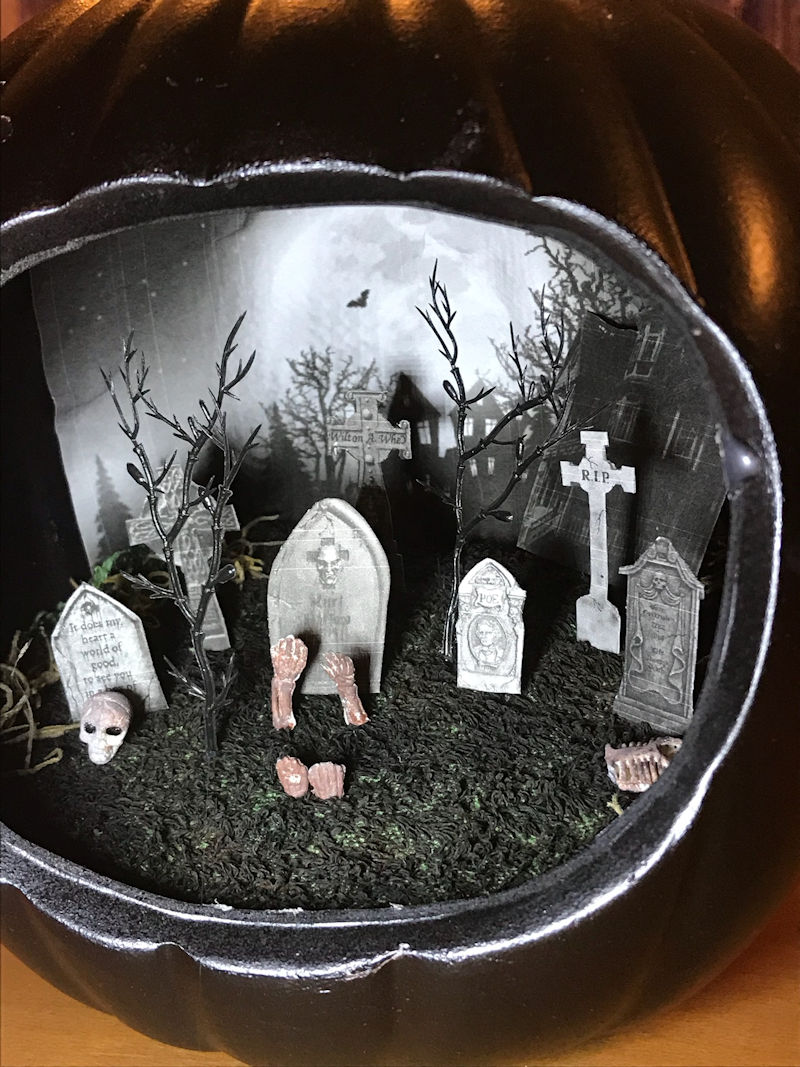
I cut the feet off the skeleton and painted them. I put pins through them and anchored them in the ground. That definitely helped fill the space. I also put the last headstone in place. It still didn’t feel complete, so I was trying to figure out what it needed. I was looking for something and saw some black flowers I had purchased. They had perfect trees in with them. So I cut two of them off and glued them in place. Being black, they did not show up well, so I removed them so I could paint them.
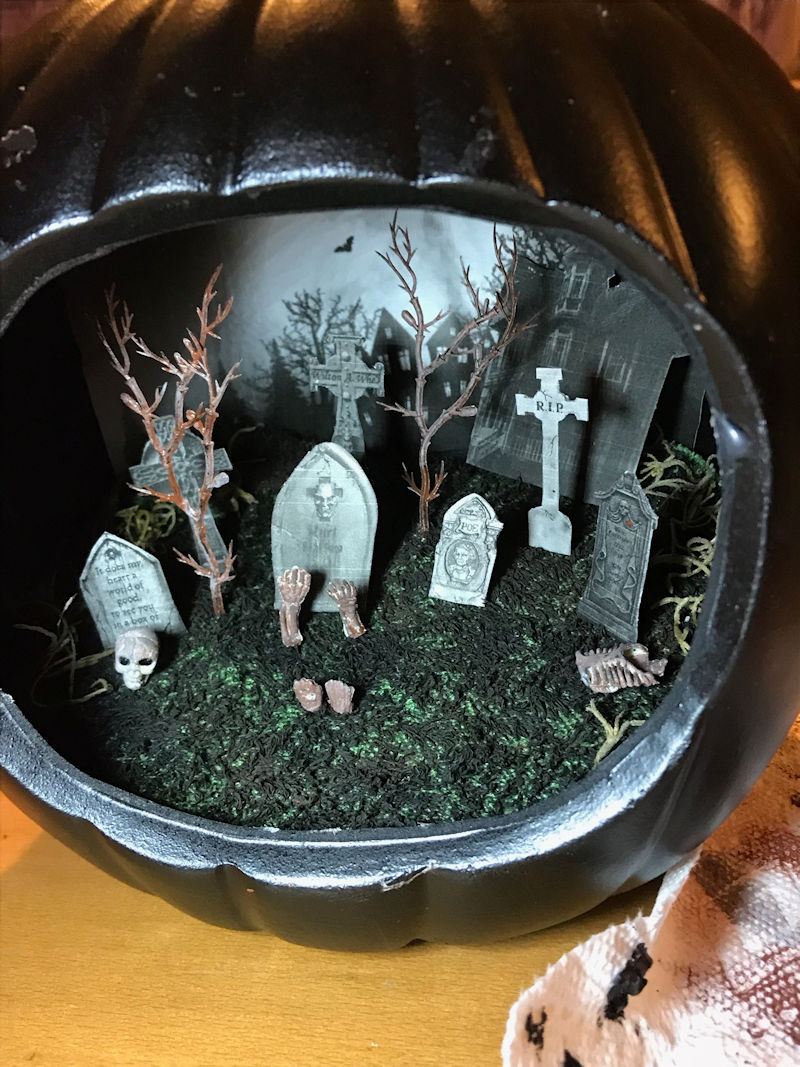
It looks much better with the trees brown. I looked at it and thought about it for a couple of days and decided it was finished.
I really like the way it turned out.
Discover more from
Subscribe to get the latest posts sent to your email.